BIG SPIDERWEB BLOCK TUTORIAL
Fun Stuff for Halloween. learn while I learn.
Ok, I can't really determine if anyone is actually reading this blog, but I keep on trying. If I get caught up on some other stuff, I have it on the list to learn how to customize to improve marketing and readership -- at least I think I can do that. If there is an actual person reading this and not a robot web crawler and if you can point me in the right direction, feel free to do so.
Yesterday, though, instead of doing that, I did this:

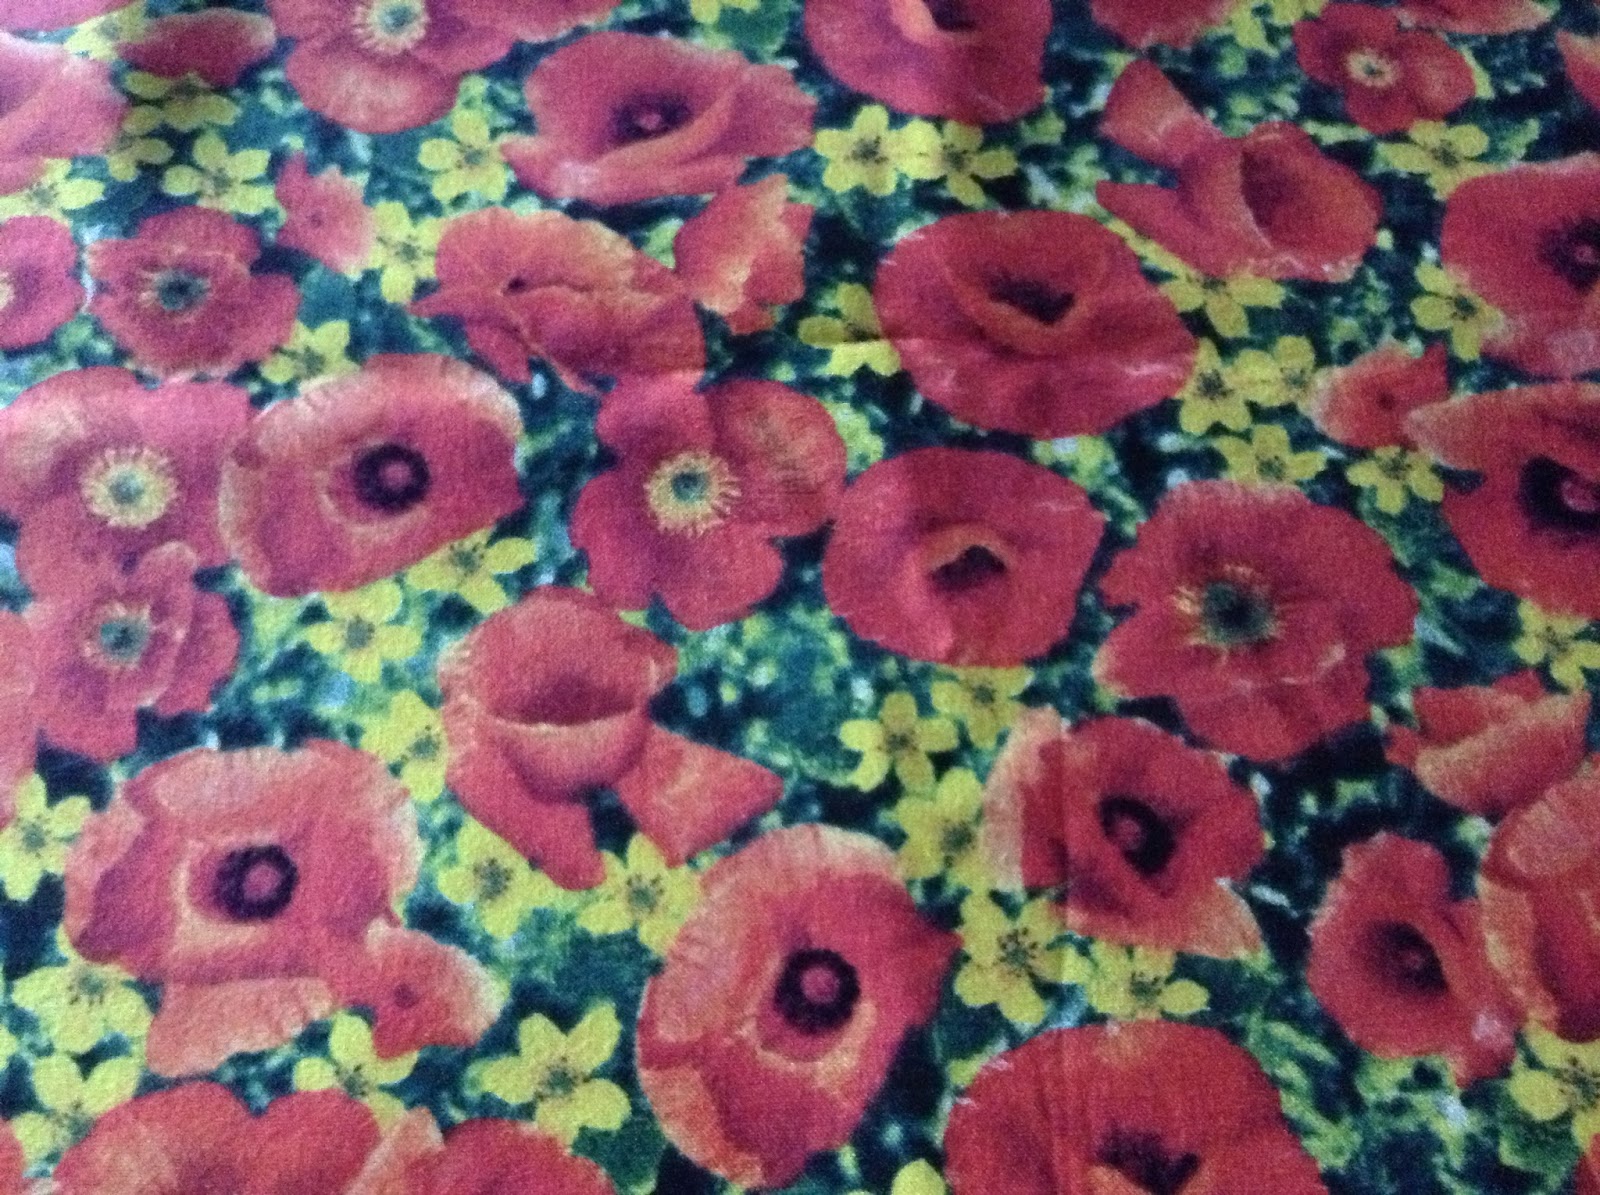
Lots of fun Halloween fabric, including Snoopy in the Great Pumpkin. I love old school Halloween illustrations like ghosts, black cats and Jack-o-Lanterns.
Whoo Hoo.
I have the peanuts fabric on auction over at ebay -- check it out,
http://www.ebay.com/itm/190876265891?ssPageName=STRK:MESELX:IT&_trksid=p3984.m1555.l2649
or look for seller Littlenootsworkshop
On to the tutorial. First I made this one and after reading somewhere that the 60% angle was the magical number, I worked from that premise. There is a tremendous amount of math in quilting and I cannot remember all that stuff so I stumble along, but clearly would not get very far without the internet. So this is one I made three weeks ago knowing the importance of the 60% and did the rest myself.


So, here we go. Start with five strips of fabric -- mine were 2.5 inches wide and sew them together. I am reasonably sure this will work with different fabric widths and with more than five strips, but I would not go overboard.


Remember to press them and tame the seams. Remember when you cut them, you will be working that persnickity bias edge of the fabric, so all the taming you can do, the better. Get the first 60% cut on the edge, like this:


Get a good clean cut for a good clean edge and start making your segments. I cut my segments in increments of two each of 2.5 inch and 1.5 inch and 1 inch. This works out very nicely and will make the thing lie flat when you are finished. And notice that the middle strip of the 5 piece section will go around the block without changing position, the others will go up and down, like this:


First cut:


Note that the 60 % angle of the rule is place along the edge and I measured over 2.5 inches like this:


Don't be confused, this is a picture of the cut from another strip set. I forgot to take the picture before I cut it. You have to rotate the ruler and the strips for every section like this, be sure to study this so you don't confuse yourself -- rotate. I made two sets of 5 strips because I ran out of a fabric, these pictures showing the rotation are of both sets.


This is how they look after the cuts.


Notice the sections -- the center section of the strips is consistent all the way around the web even as the sections rotate up and down. If you are confused by the fact that I made two sections of 5 -- go back up and study the one I made first -- all sections are the same except for rotating around the middle strip.

The strips connecting the web sections are 1.5 inches wide and if you use the cuts I stated earlier -- two each of 2.5, 1.5 and 1 then the 1.5 inch in-between strips will fit right in. Sizes are important as in so many things in life. I use the Accuquilt to cut all of my strips.
Now that the 1.5 inch strips are sewed between the web sections, its time to make an applique for the center. I did a hexagon, you can do whatever shape your imagination tells you to. The important thing is to cover the hole. I use iron on Pellon to make the applique. Draw the shape on the wrong side of either the fabric or the pellon.


Sew them together, right side to right side because you are going to turn it and make a smooth edged applique. When you have sewed them, trim them, cut out the center of the iron on and flip them inside out and use a turning tool to poke out the edges. Incidentally the glue side of the iron on is the pebbly feeling side. When making a turned applique, the glue side will be the wrong side so when you turn it, you can iron it down. Like this:


Applique with your favorite stitch, I used a blanket stitch and I am very pleased with my Sunday project.


If you want to use this in a quilt or take it further, you will most likely have to square it like we do with hexagons. Like this:


You will also notice that I added strips onto the first one I made before I squared it up -- I will most likely do that on the one I made yesterday as well. Here they both are for one more admiring look.

If a real person had read this tutorial, please leave a comment so I know you are out there and I not just writing into an empty vacuum. Thanks Sherrill