Making a simple strip quilt, but first a discussion of Jelly Rolls and the strips I offer in my kits.
Getting familiar with fabric strips
from Little Noot's
Workshop.
You can buy something from the major fabric sellers called a
Jelly Roll which is a set of strips 2.4 inches wide by the width of the
fabric, which is 43-45 inches.
There are usually 40-42 strips, 2 or 3 of each fabric from a specific
line which would include all the colorways and all the patterns in the entire
fabric line. You can make a small quilt or a lap quilt with one of these jelly rolls and you can find a plethora
of these on ebay and etsy. And while I
find these for the most part to be beautiful, I also find them to be useless
for my purposes. Why is that?
Because I am a confirmed and unrepentant washer! I am of the opinion, and this is confirmed
for me every time I deviate from my practice, that all 100% cotton fabrics should be washed
and dried before used in a sewing
project. And you cannot do that with a
Jelly Roll. I prefer my strips to have
some experience in the washer and drier
for several reasons, all of which are grounded on the concept that I do not
like surprises that occur when something beautiful, but
intended to be useful and actually used by a human being, is washed and
dried for the first time. Oh the horrors of bleeding and shrinking.
A) New fabric is full of nasty chemicals, inks, pigments, sizing
and other not so good stuff. I am
especially suspicious of fabric from outside the United States . Like all quilters, I choose fabric because I like the color or
the pattern or both, so I get stuff from all over.
B) New fabric very often contains fugitive dyes, inks or pigments
that will bleed out of the fabric when it gets wet which will cause, without the proper precautions, a very nasty surprise upon first washing. Everyone has seen what happens when a red shirt is washed with a white shirt -- presto -- pink!
C) Cotton fabric
shrinks!! I have found that even
"preshrunk" or "prewashed" fabric will change its shape in
the dryer of the normal household. Especially a tee shirt, but that's another blog post, eh? So I act accordingly and avoid such surprises. I have never been able to use polyester
fabric in any quilt I make and probably never will. It has a nice sheen and looks good from afar,
but I just don't like it, so back to "cotton shrinks."
D) When I was a a kid I found out in a very unpleasant manner that sizing has an adverse effect on me.
D) When I was a a kid I found out in a very unpleasant manner that sizing has an adverse effect on me.
I believe that everything that is to be used in the home or on the person or the bed should be washable and able to withstand a run in the dryer. It's like this, it's pretty much useless to me and a big pain in the neck if I have to treat some article of normal living with some special care. Divas are not allowed in my house, unless they are very, very special. I admit I am getting old and cranky. I don't like fussy stuff, including the my quilts.
So a beautiful jelly roll is useless to me. I wash every piece of fabric that I am going to use
before I sew with it. I even wash and dry fat quarters, and I am sure that washing and drying a jelly roll would be a nightmare! In fact if fabric comes home with me that is not on a
bolt, I immediately wash it. Now I just
don't "wash" it, I use a dye magnet, sometimes called a "color catcher" in the washing machine. A dye magnet is designed to absorb the fugitive dyes, inks or pigments that come out of the fabric on first
washing. In this way, the excess stuff does not bleed onto other fabrics or the fabric itself. These dye magnets are a simply wonderful
invention and should be in every laundry room. I have read on the internet that some folks use a white washcloth for this same purpose, but I can't speak to that and the color catching magnets are cheap enough to not need a white wash cloth. You can get them in the grocery store in the laundry isle and there are
several brands. Okay so I went to the
grocery. There are two brands usually, but I could find only this one when I was there with my camera:

I prefer the paper
ones and use them a few times with good results before I toss them. I don't know why I prefer the paper ones, but
I do. So I throw the fabric in the
washer with a couple of dye magnets and then wash it GENTLY so as not to cause too much fraying and then throw
it all in the dryer on a low temperature and with a dryer sheet for static. I prefer to get the fabric out of the dryer right away and fold it -- but rarely
does that occur. The real goal would be
to take it out of the dryer slightly damp and then iron it right away, but that
has never happened. No one has time for
that any more.
Look what the dye magnets pick up, they are white when you throw them in the washer.

Then comes ironing. This past summer I made myself a great big ironing surface and on several occasions ironed my quilt fabric on the deck on a beautiful summer morning. Very zen! Sometimes I use Best Press but its expensive, so I get starch from the grocery and mix it up in a spray bottle. I have a cordless iron and an iron with a cord. I use the one with the cord to get the fabric ready for cutting because I think it gets hotter and I get a better press. But the cord literally drives me out of my mind and I prefer to use the cordless most of the time. I have two Panasonic cordless irons and they work very well during the sewing and piecing process. And if there is one thing you need to learn in quilting of any type -- the iron is your friend and you will use it constantly to set seams and manage your strips and blocks after you have sewn them. You can't skip the ironing stage and get good results.
Then comes ironing. This past summer I made myself a great big ironing surface and on several occasions ironed my quilt fabric on the deck on a beautiful summer morning. Very zen! Sometimes I use Best Press but its expensive, so I get starch from the grocery and mix it up in a spray bottle. I have a cordless iron and an iron with a cord. I use the one with the cord to get the fabric ready for cutting because I think it gets hotter and I get a better press. But the cord literally drives me out of my mind and I prefer to use the cordless most of the time. I have two Panasonic cordless irons and they work very well during the sewing and piecing process. And if there is one thing you need to learn in quilting of any type -- the iron is your friend and you will use it constantly to set seams and manage your strips and blocks after you have sewn them. You can't skip the ironing stage and get good results.
Okay so now you know what I think about the jelly roll and why I spend my time and energy in so much
pre-preparation before starting to sew and I have prepared the fabric in the quilt kit in the same way I would if I was going to use it.
So lets get started in the actual lesson in making a simple strip quilt from a set of strips that you have -- I am hoping -- purchased from me. And if you have purchased a pre-cut strip kit from me it has been washed, dried, ironed and very carefully cut so you can sew it together and use it as soon as it is finished.
This is a kit:

This is what I made out out the kit pictured above.

An Asian influence with two beautiful batiks and two colorways from the Tomodachi line from P&B textiles and 5 beautiful deep colors to go with them. The kit includes 9 strips from each of 9 fabrics. Just like a jelly roll, each strip is 2.5 inches wide by the width of each fabric, 42-44 inches. It takes 3/4 a yard of fabric to make 9 strips so there is a total of 6 and 3/4 yards of fabric. The only drawback from your standpoint is that I picked out the fabric so you either like or you don't, but I am working on several kits around certain themes, so check ebay for more strip quilt kits from Little Noot's Workshop.
An Asian influence with two beautiful batiks and two colorways from the Tomodachi line from P&B textiles and 5 beautiful deep colors to go with them. The kit includes 9 strips from each of 9 fabrics. Just like a jelly roll, each strip is 2.5 inches wide by the width of each fabric, 42-44 inches. It takes 3/4 a yard of fabric to make 9 strips so there is a total of 6 and 3/4 yards of fabric. The only drawback from your standpoint is that I picked out the fabric so you either like or you don't, but I am working on several kits around certain themes, so check ebay for more strip quilt kits from Little Noot's Workshop.
Much of the following is for the complete beginner, so read it or not if you already know this stuff.
That white line is called the selvage of the fabric, it is the edge of the fabric. It's not always white, but it is the edge of the fabric and will usually still be on the strips you purchased from me. You should cut if off. I am assuming you have a cutting mat and know how to use a rotary cutter. Gosh if you haven't gotten that far, let me know.


Now let your imagination run wild, cut or don't cut the strips and sew them together any way you want.
This first lesson is designed to get you familiar with the very basics of making a quilt. The 1/4 inch seam is the one of the few sacred rules in the quilt making process. When we progress to shapes, you will find that 99% of quilt math includes figuring for a 1/4 inch seam. What! Don't get alarmed, it simply means that a 2.5 inch strip will in the end be a 2 inch strip because of the two 1/4 inch seams.

Your ability to sew an accurate 1/4 inch seam stand you in good stead and will make your quilting projects less stressful! And good news, I discovered early on that quilters have a little cheat called the 1/4 inch presser foot or sometimes called a piecing foot. I got one and never looked back.


An aside about the Jelly Roll Race. You can find lots of info about this on the internet -- Jenny Doan of the Missouri Star Quilt Company has a Youtube video about it and demonstrated a jelly roll race on Fons & Porter Love of Quilting with Mary Fons. You can certainly use these strips to make a jelly roll race quilt, but I personally find the results too random and unattractive and it's a real hassle to deal with a single strip composed of 81 individual strips sewed end to end -- about 3400 inches of strips. Whew!!! The jelly roll race idea is to sew them all together end to end and then sew the long strip edge to edge over and over this till you get to the size of the quilt you what. Too random and too unwieldy for me.


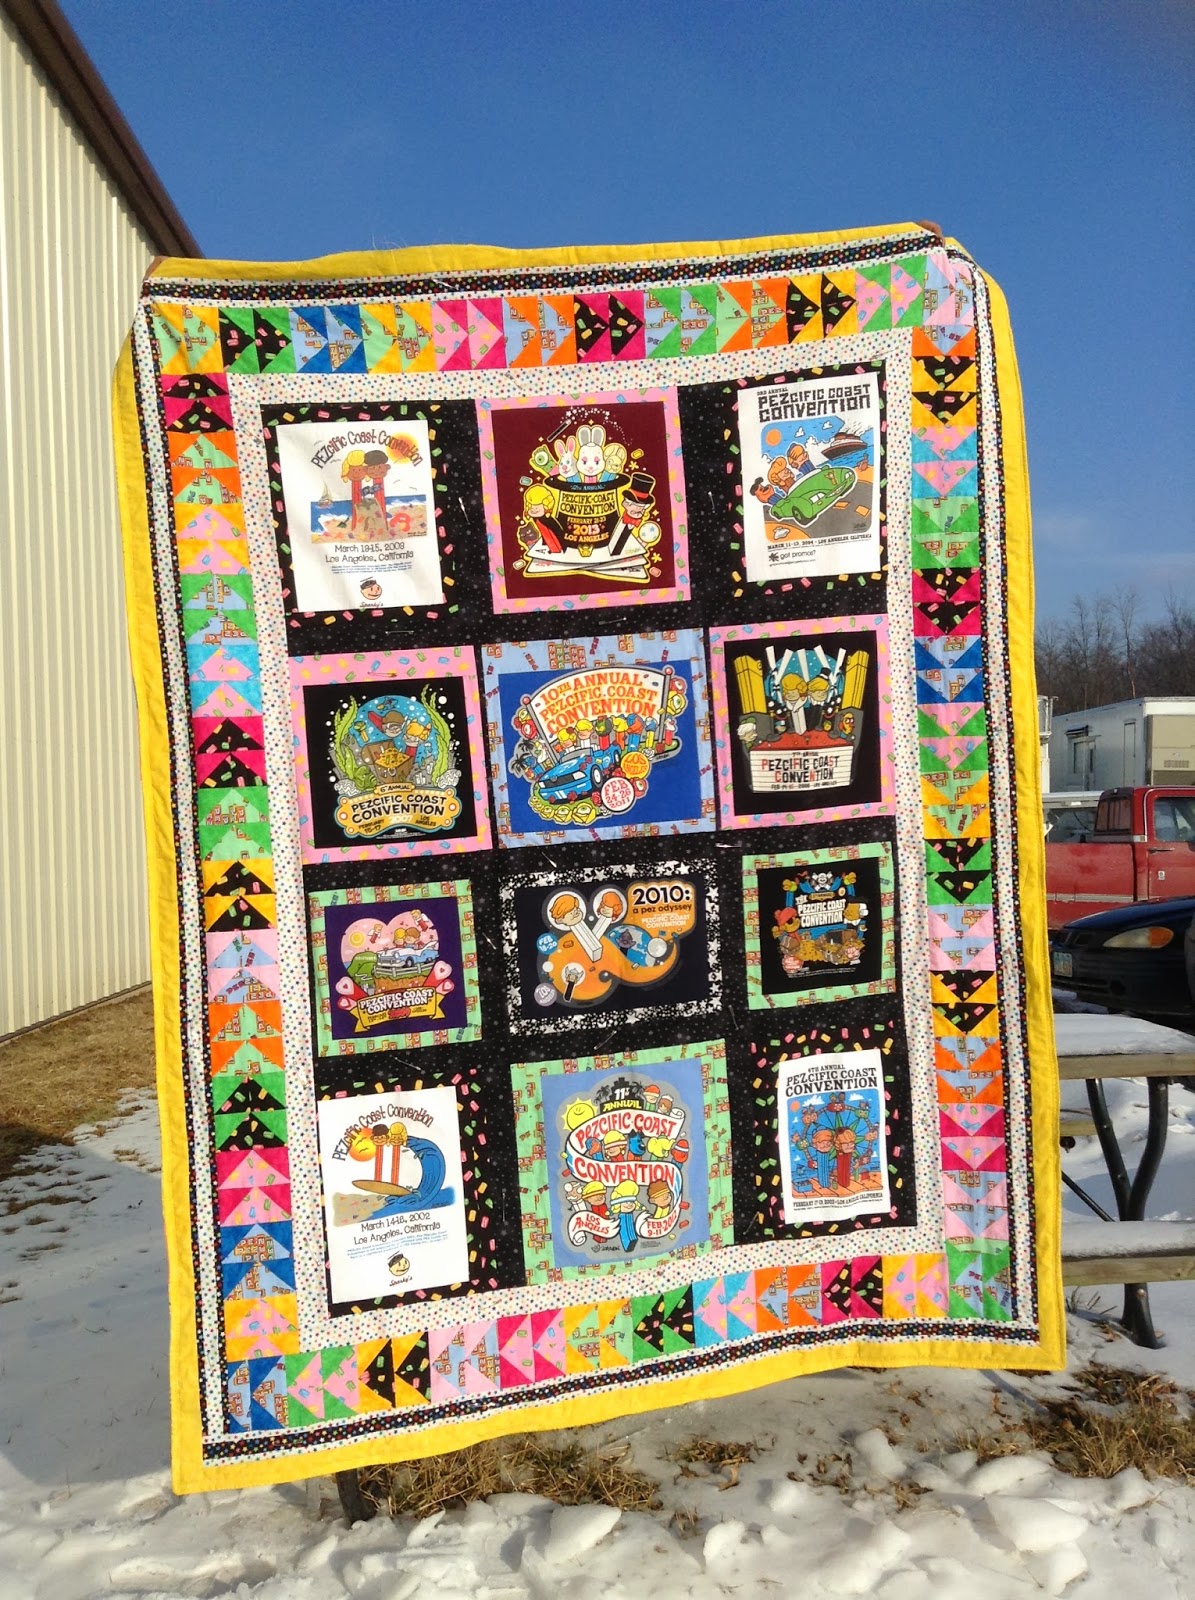
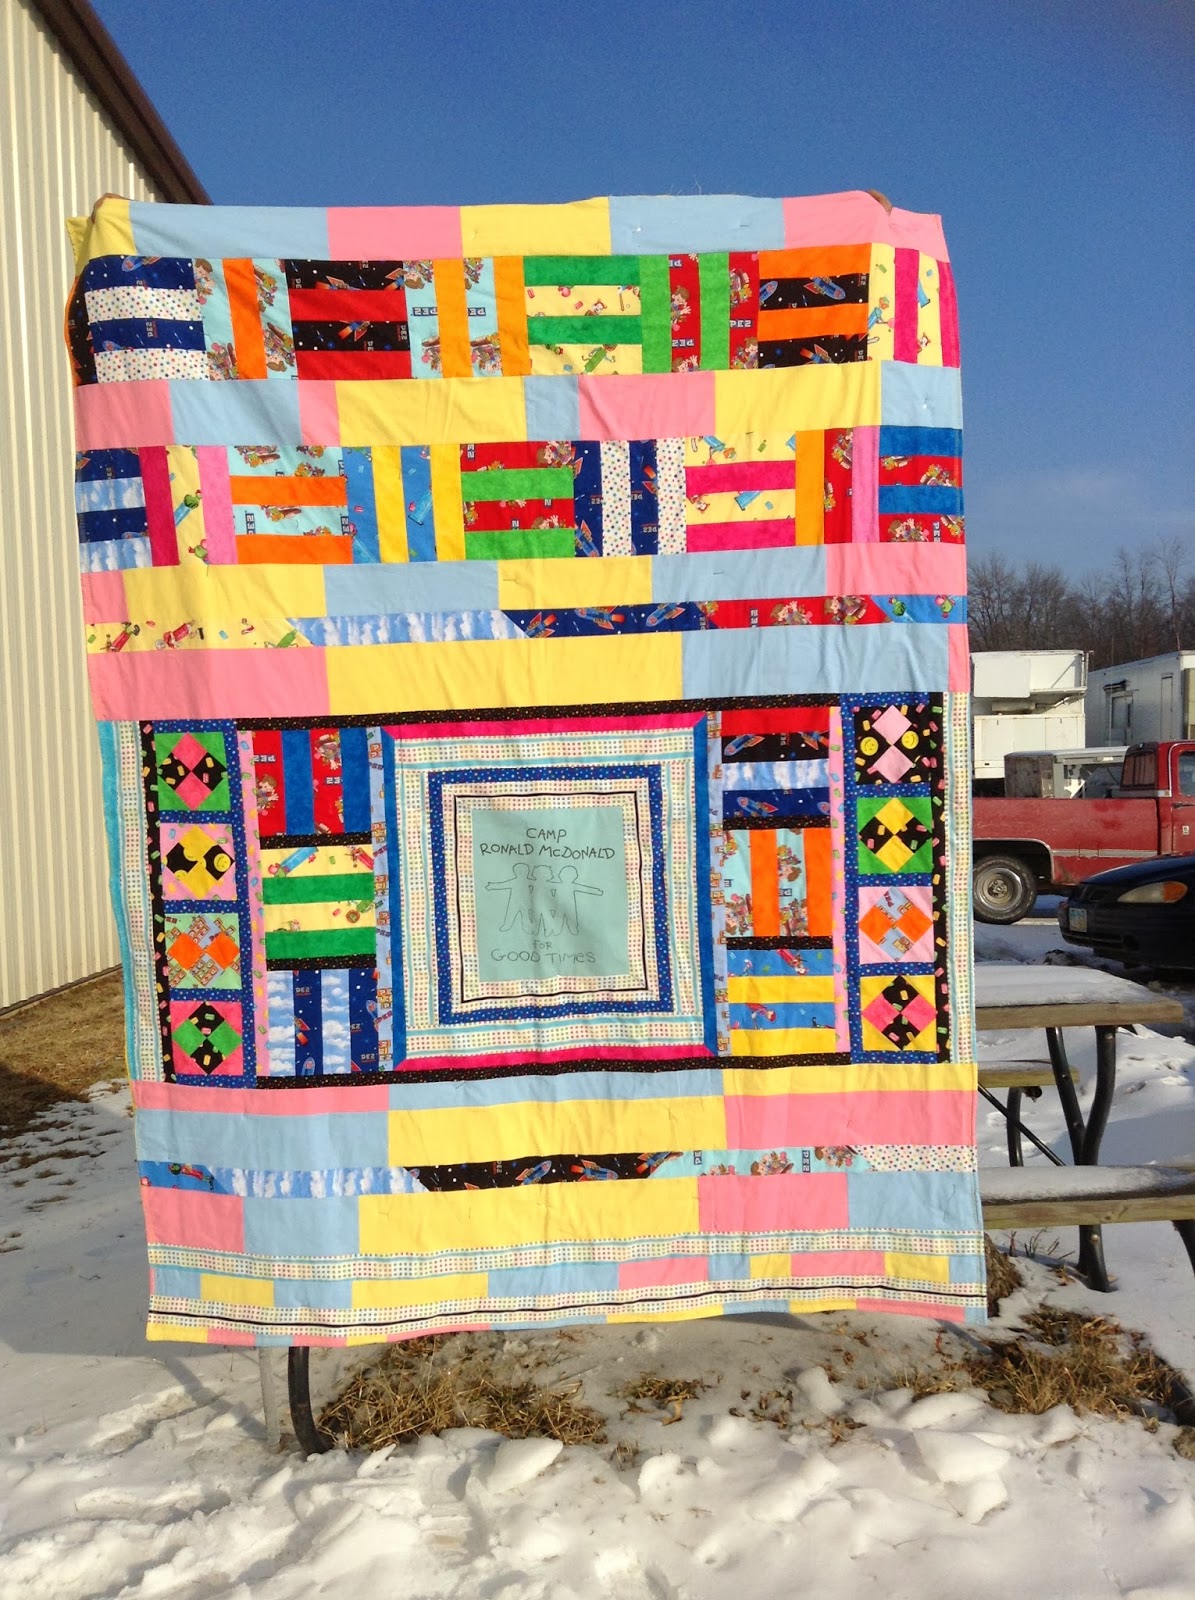
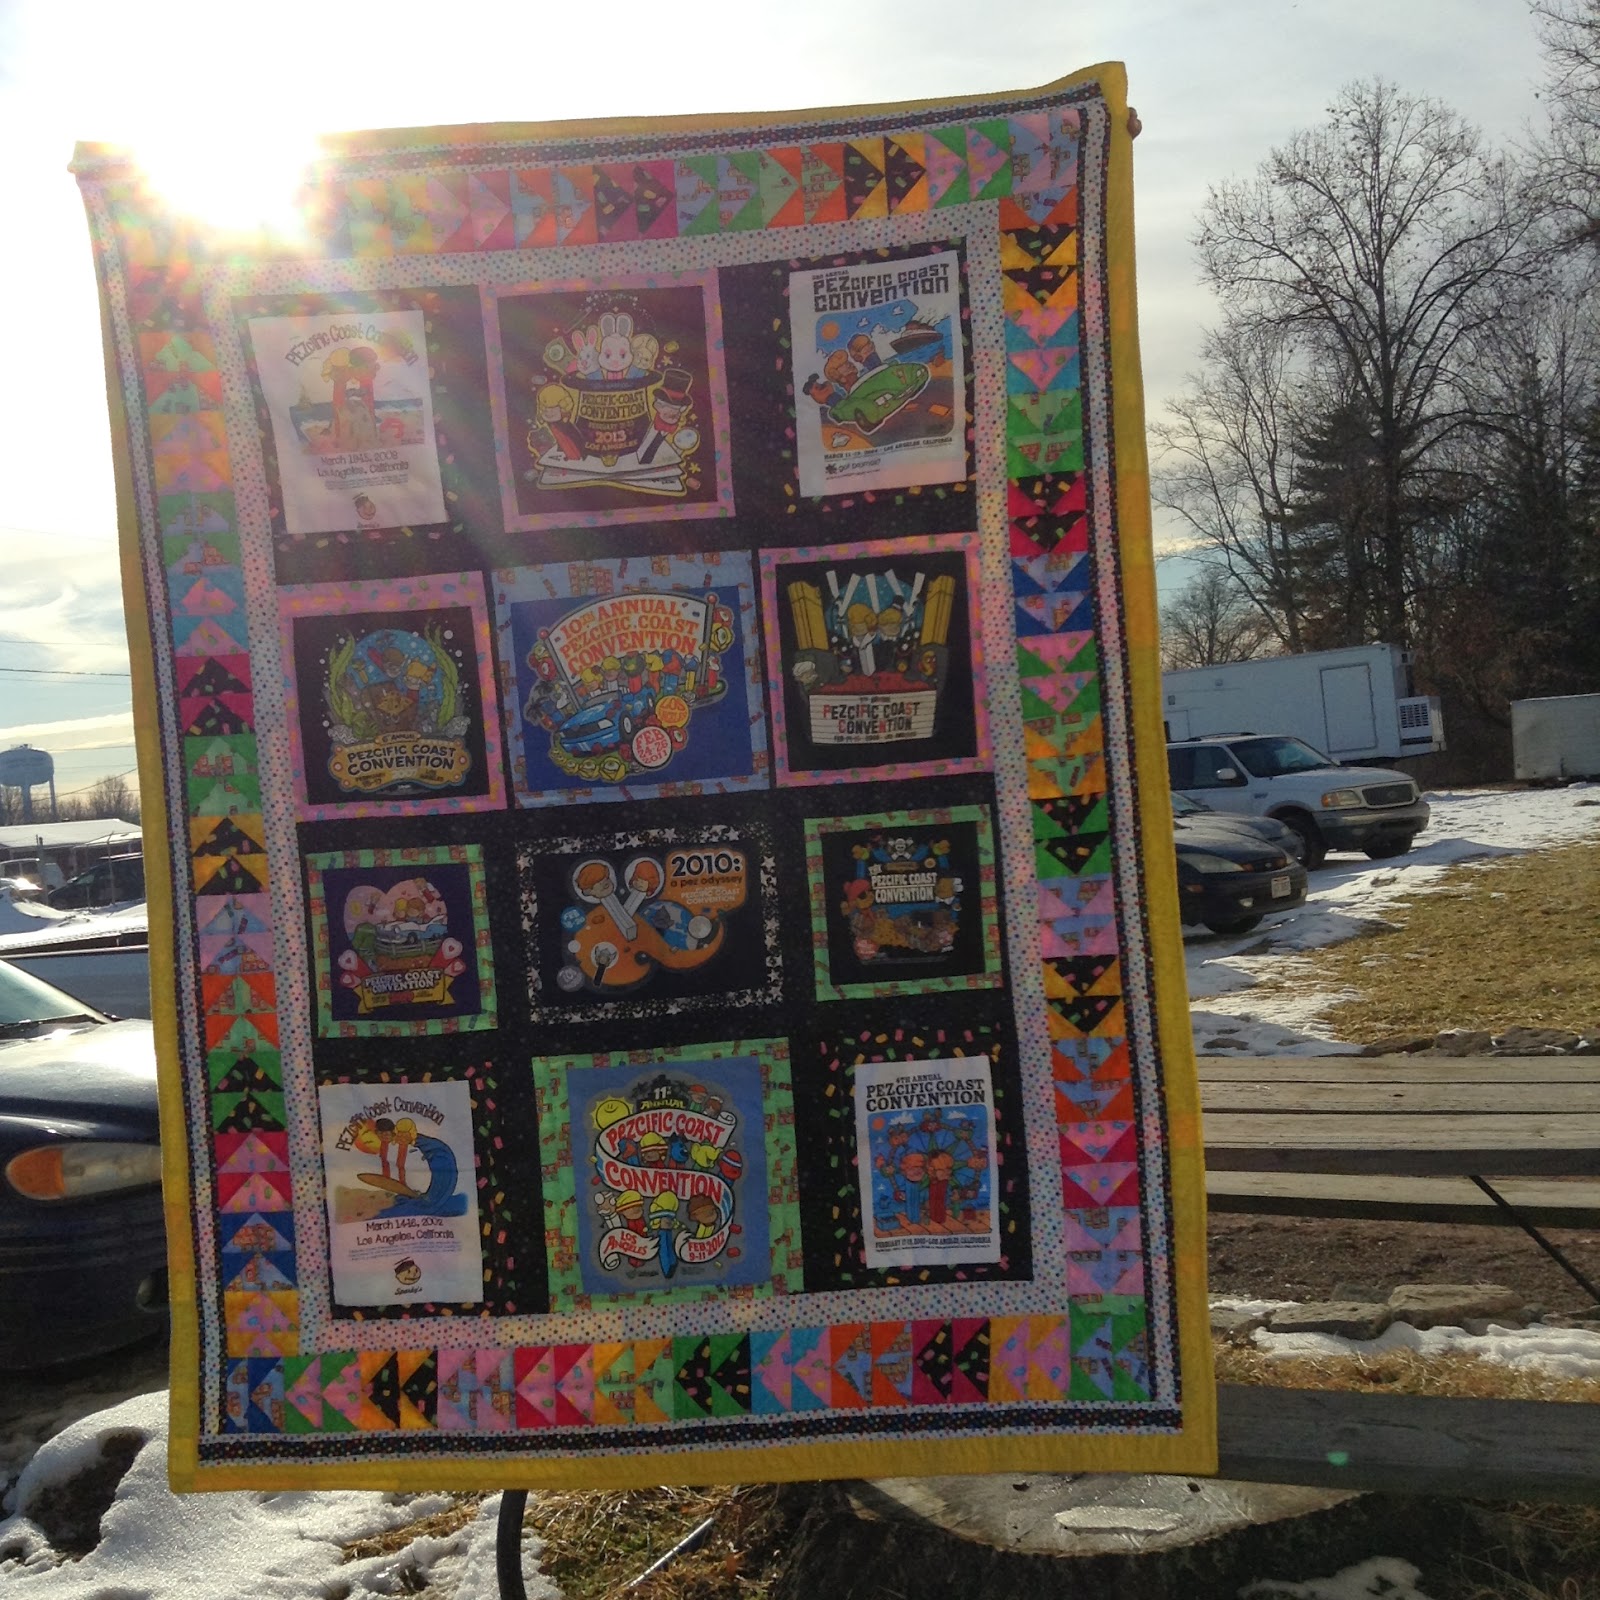
The above 4 pictures are of a jelly roll race quilt I made, I don't like it. You will see it below as an example of sewing the strips together end to end. Its not the end to end that I don't like, it's the randomness of the jelly race result that I don't like.
So I am not tutoring on that method, I want you to use your creativity and color coordination sense not random chance. Anybody can sew a very beautiful strip quilt with a minimal amount of time and skill.
You can sew these strips together end to end or you can mitre them. Let me explain.

Join the strips end to end like this.
End to end strips
Join the strips end to end like this.

Two pieces of fabric, laid together right side up to right side up. Very important right side to right side. Right side means the side of the fabric intended to show in the finished product.

Sew them together with the 1/4 inch foot.


Press to set the thread in the fabric -- or set the seam -- and then open up and press toward the darker fabric. In this case pressing toward the darker fabric is so that the 1/4 inch seam will not show. This cannot always be avoided, I don't get all het up about it. Remember that this is pressing, not ironing, it is not a shirt sleeve. Don't push and shove the fabric with the iron or you will find that the fabric doesn't like it and will stretch out of shape to spite you.
But do make sure that the fabric is not puckered after you press it open, it won't look right in the finished product if it is not flat and all the way open. You will use less fabric if you sew the fabrics together end to end. It's really a matter of preference, not a hard and fast rule, do what you like. I have done both. Joining end to end is easier and faster.
Another way to join the strips is to mitre them, like this


Put the ends of the fabrics together at right angles, again right side to right side and draw a line from corner to corner and pin -- at least until you get the hang or forever it you want, makes no difference, just learn how to do it accurately.

You will sew from corner to corner on that line.

Press to set the seam and open it up and -- oh the wonders of math -- there you have it


Cut off the excess triangle - try to maintain the 1/4 inch seam so as not to lose the seam by fraying.

Strips to pick and choose

After your join your strips together and get lengths that are 60 inches wide or a little longer is better, makes for easy trimming, sew them together edge to edge -- always remembering the 1/4 inch seam.

And here it is. This one is 60 inches by 72 inches, which through no coincidence, is exactly the size of two yard piece of cozy polyester fleece to be used as the back of the quilt. I will show those instructions in the very next blog post. But for now stand back and admire your work.

I LIKE IT, HOW ABOUT YOU?
REALLY! ADMIRE YOUR WORK! IT'S OK TO LOOK AT IT MORE THAN ONCE.
I had this much left over, a nice bunch of fabric to throw in your stash.

and guess what I did with those little triangles I cut off

Oh my heavens, no respectable quilter throws away a piece of fabric that can be used in another project. No matter how many they already have.
Be seeing you , Sherrill aka Everything Annoys Me
Next blog post, how to attach the fleece backing to your beautiful strip quilt.