MONDAY MAKE-IT REPORT
So I woke up Saturday morning with a wild notion that I would start another quilt with the Windham Rocky and Bullwinkle fabric -- so I thought about it for awhile and here is what I have done so far. Mind, this is not the other Rocky and Bullwinkle project, it is a new one. I have a tendency to veer way off into left field when I am working on something that comes right out of my head, so I figured if documented this one, I would finish it the way I actually imagined it when I started it. Here goes:


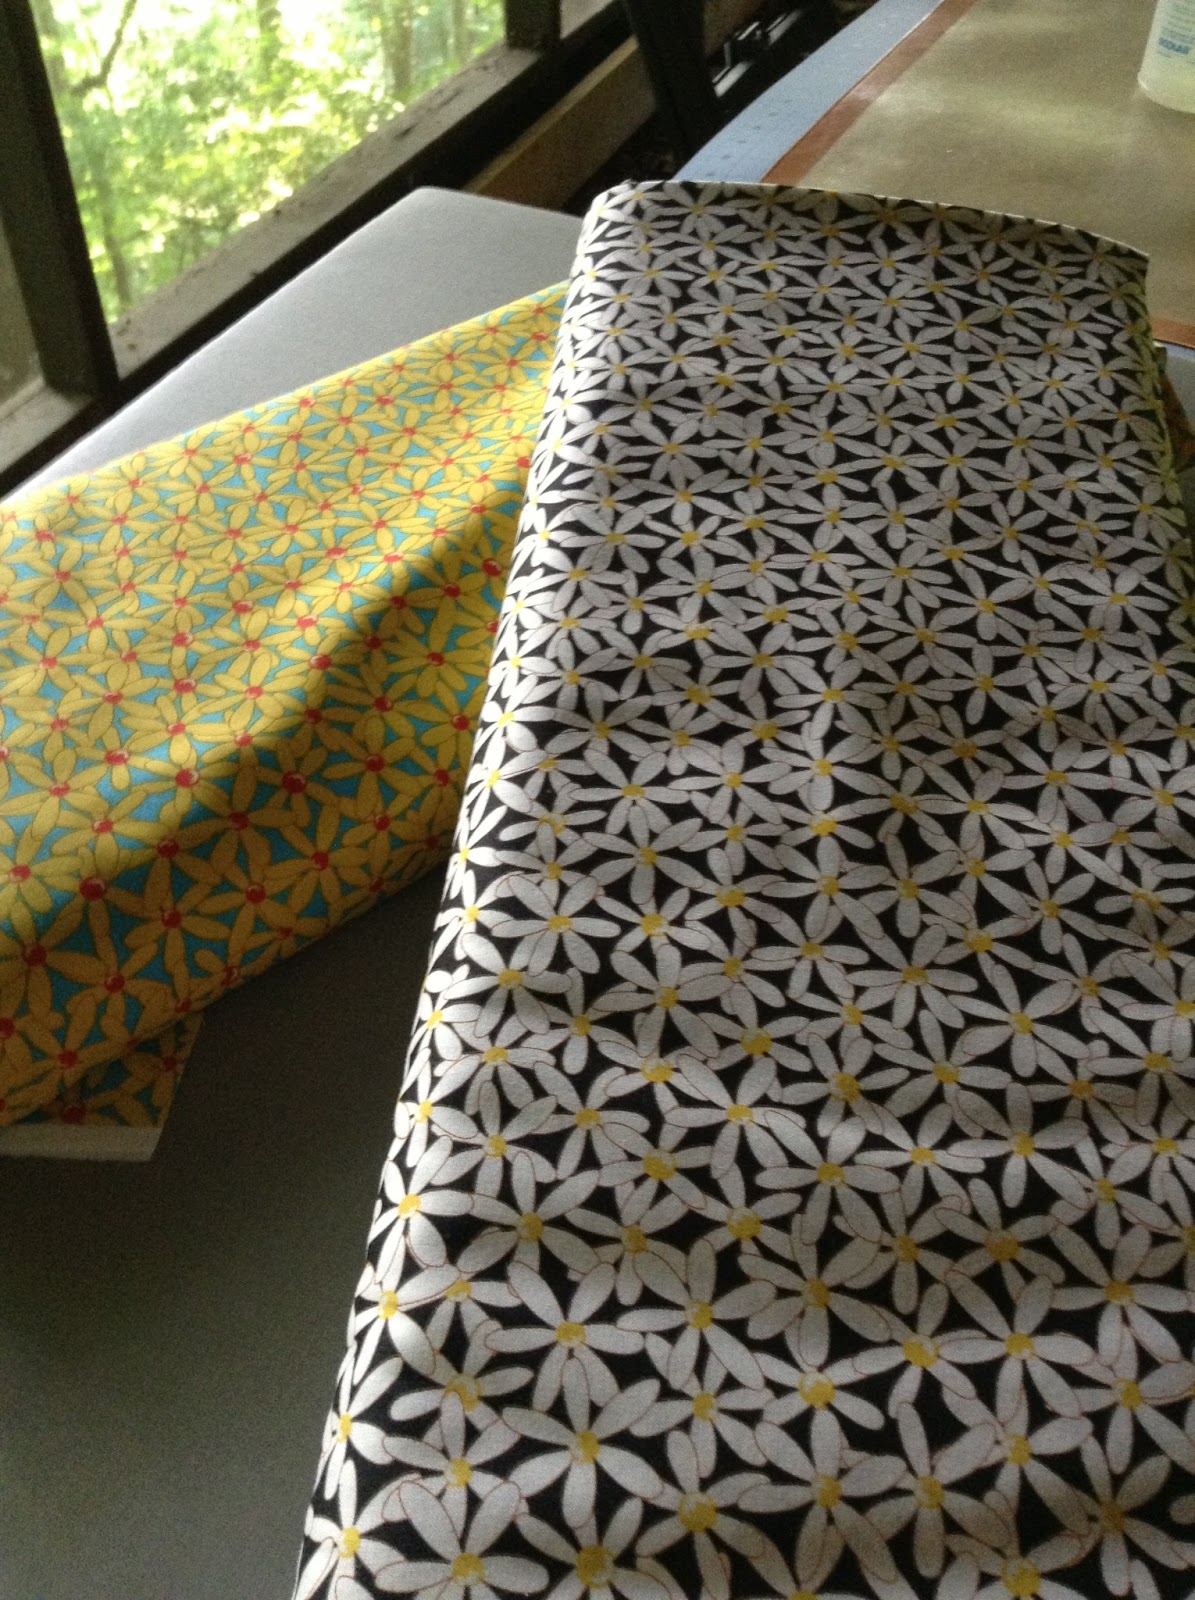
Above is pictured the Daisy white and Daisy yellow fabric in the Rocky & Bullwinkle series. If you are my age, you might remember that the Daisies were a big part at the end of the episode when Rocky and Bullwinkle popped up out of the ground. I cut 2-2 yard lengths from each bolt. Then down to the washing machine. I am a big proponent of shrinking the fabric and getting all the dye, sizing and any other sundry chemicals out of the fabric before I do anything with it. I can avoid unpleasant surprises this way.


Above is pre-wash, left is after wash. I use detergent and run it through a full wash and rinse cycle. I also use -- and this is VERY IMPORTANT -- if you don't want to wash each fabric by itself -- go and get a dye magnet or color sheet from the grocery store, it is in the laundry department. It will absorb fugitive dyes and pigments that come out of the fabric during the wash and will prevent it from bleeding onto other fabric. I am happily surprised at how well they do their job. I prefer the paper one but I don't have a reason why. I learned this the hard way and should really have known better, having actually worked with pigments and dyes in the past. There are two brands that I can think of but I can't remember their names. Then into the dryer to shrink. Now back up to the ironing board.


Use plenty of starch for accurate cutting. I make my own starch from the concentrated stuff I buy at the grocery store. To the left is the fabric all ready for cutting and cutting. I have also considered making starch from scratch, but I think its prolly cheaper to buy the concentrated stuff. I also made myself a great big ironing board with OSB board, Insul Bright, a staple gun and that silver ironing board fabric from JoAnn Fabric. Oh and duct tape and that non-slip rubber shelf liner.


I use an Accuquilt Go for cutting my strips. To get an accurate cut and minimize waste, you have to cut the fabric the right size for the die -- here we will are using the 2 1/2 inch strip cutter so I will cut 81/2 inch wide lengths from the fabric. The fabric is folded end to end -- and first I cut off the selvage.
A note about the selvage. If you are at loss when choosing your complementary or matching colors -- why take a look at the selvage. The colors used in the fabric are right there on the selvage. Cut if off and take it to the store with you. This information is put there when the fabric is printed, just like magazines.


Now for the cutting.
Ready to go! Very little wasted fabric.


So I got started on my quilt top.

First thing I did was sew it together incorrectly. Yikes, I cannot begin to tell you how many times I have done that. Seam ripper!
Below is a far as I got before I had to go to my other job.

Reminder JoAnn Fabric is having 50% of Red Tag fabric till I think July 17th -- go get it -- here is what I purchased yesterday. Another Halloween quilt coming. My JoAnn's store has great red tag stuff -- there is another store cross town that has a worthless red tag department. I am happy mine is close to my house. Washed already but not ironed.

Be well. Sherrill
No comments:
Post a Comment