
Start with the shape you want to fussy cut. Above are circles. Gather your supplies. A sharpy and some cardboard. Trace the shape of the die on the cardboard and cut it out, like the picture below.

You will see why it should be much the same size. Run the carboard through the machine and viola, you have made a template and you have also made some reference shapes to go along with your template.


Be sure to reinforce your template with blue painter's tape from the dollar store. Gotta love that blue tape, I use it for lots things in my sewing, I am sure it will show up again. By reinforcing it you can use it over and over again, I recycled a post office box.


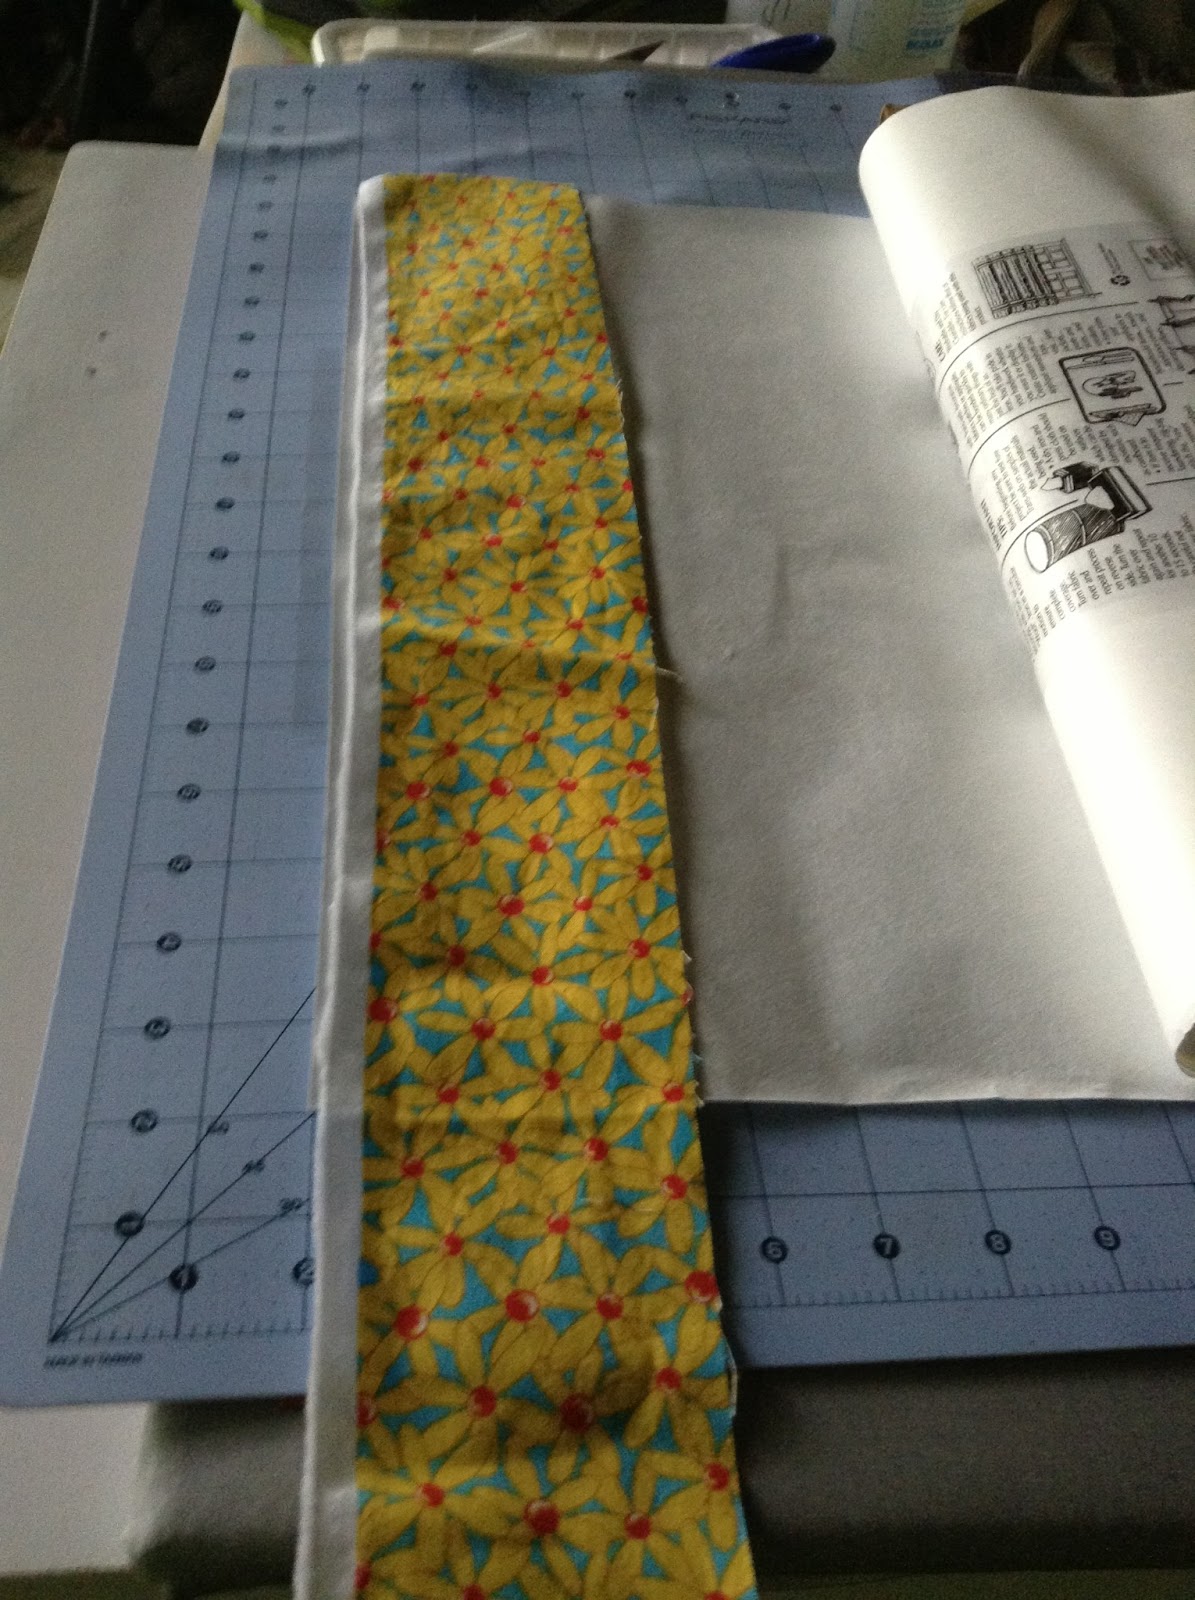
If you will be appliqueing the shapes, prepare your fabric with double sided iron on fusible web.

I use parchment paper to iron on the fusible without the sticky stuff getting on the iron and my ironing board. I do admit, however, that there is some of that glue on the board, which annoys me, but I try my best to remember to cover both sides before I put the iron on it. Because you will be cutting it again, there will be uncovered fusible the fabric. Go cut your shapes. You will be amazed at how easy it is with the template.


Hold the fabric in place with your finger, remove the template, carefully put the cutting mat on the die and crank it through the machine. See?


Then, peel off the back and iron it on your quilt.


You can use the cardboard shapes to get a feel for what you can get from the fabric.

Some fussy cuts. But, and this is a big but, I don't like it.

I have appliqued shapes and free hand fussy cuts on the project I started last Monday. I am not happy with the result and am thinking of abandoning it before I put much more time into it.

Top half of the quilt top made with the strips I cut last week. Now I want to make Rocky and Bullwinkle the star of this quilt and so I cut and cut and iron and iron and, see below:

All of that is appliqued with tiny blanket stitch. I am in a quandry, will it get better with more appliques, or will it continue to look too busy and mish-moshy. My friends are divided on it and I am not liking it. What do you think?


This is my fabric.


Lots of work to be this disappointed. Too much negative space I think, I wanted it to be whimsical and its too something, but not whimsy. And I don't think I can fix it by putting more appliques on it. Oh well. Its a learning experience in planning, isn't it? Be seeing you, Sherrill
No comments:
Post a Comment